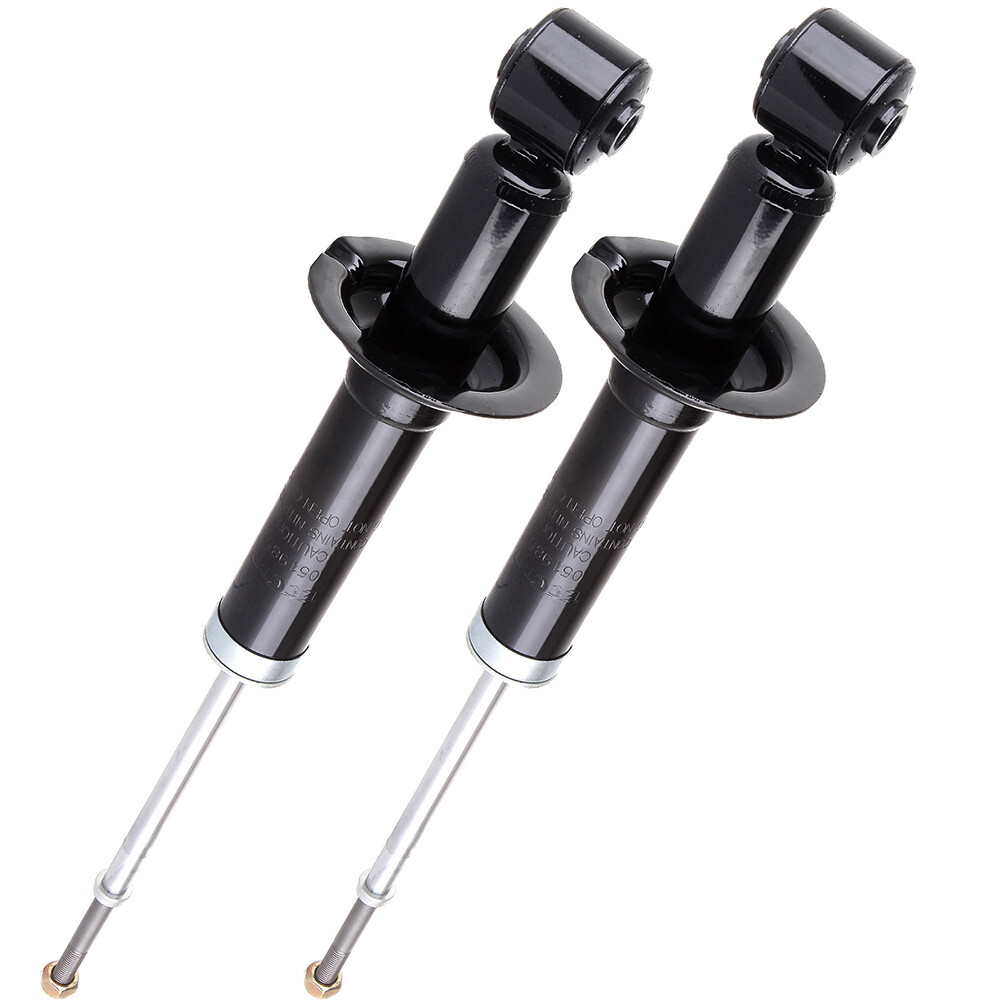
Front 2x Strut & Coil Spring For 02-03 Ford Explorer Mercury Mountaineer 4.0/4.6
$ 33.26
Description
About this item Improve driving comfort: Shock absorbers can reduce the vibration and bumps of the vehicle during driving, so that passengers can feel a smoother driving experience. Increase safety: Shock absorbers can improve the stability and handling of the vehicle, reducing the risk of rollover and loss of control when the vehicle is driven at high speed or in an emergency. Extend vehicle life: Shock absorbers reduce wear and damage to vehicle components, extending the overall life of the vehicle and reducing maintenance costs. Improve fuel economy: shock absorbers can reduce the resistance of the vehicle during driving, improve fuel economy and reduce fuel costs. Customer Support : We are always developing and innovating, will continue to bring new auto parts. If this model is not suitable for your car, you can enter the our store, we have more models for you to choose! Feature: Enhanced Handing: Optimizes the response of the suspension system to road irregularities, absorbs road vibration, and maximizes the bumps and vibrations generated during driving to enhance the handing and control of the car on the road. Durable Material: Shock absorbers are made of high-quality steel and have been tested for impact wear and fatigue to provide structural integrity and durability, which can protect automobile spring parts and tires from mechanical damage caused by driving. OE Compliant: Each product is quality inspected and 100% tested, Installation is fast and direct: easy to install without special tools or skills. Enhanced Handing: Our strut assembly optimizes the response of the suspension system to road irregularities, absorbs road vibration, and maximizes the bumps and vibrations generated during driving to enhance the handing and control of the car on the road. Interchange Part Number : 171321*2 Fitment for: Make Model Year Ford Explorer 2002-2003 Mercury Mountaineer 2002-2003 Kit Includes: 2x Front Strut & Coil Spring Shock Assemblies-171321 Note: 1. The real product may differ from the pics due to the pics shown are genetic pics. 2. Shocks should always be replaced in pairs 3. Installation instruction is not included ,Professional installation is highly recommended. We are not responsible for any misuse or inappropriate installation. Time to replace your struts if you are troubled by bellow - The car makes unusual noises. - The car sink when the road is bad or load is heavy. - Oil Leakage. - Frequent and irregular tire wear. - It's hard to control the car. - Poor stability makes you feel very uncomfortable. How to Install : Step 1: Before You Lift the Vehicle, Loosen Lug Nuts One Full Turn. Step 2: Jack up Vehicle and Use Jack Stands for Safety & Remove the Tire from the Rotor. Step 3: (Wheel Alignment Is Necessary After Strut Replacement.) Marking the Position of All the Bolts Will Help Keep the Alignment Close to Original and save Time Aligning. Use a Colored Pencil to Mark the Old Strut on the Bolt. Step 4: Use Penetrating Oil (Such As Wd40) to Coat Any Rusted Fasteners, Let Soak for Approximately 1 Hour. Step 5: (Optional) While Waiting for Oil to Soak, Take This Time to Inspect All Other Components That May Need Replacement (Brake Pads, Rotors, Brake Hoses, Ball Joints, Cv Boots, Tie Rod Ends, Bushings, Sway Bars, Etc). Step 6: Remove Any Brake Line or Wire Attachments from the Strut Body. Do Not Disconnect Brake Lines (If Possible)! Opening Brake Lines Will Require Bleeding of the Brake System. Use Extreme Caution When Removing Brake Lines from Your Struts, As Any Damage to Your Brake Line Can Result in Expensive and Time Consuming Repairs. Step 7: Remove Sway bar Attached to the Strut Assembly or Control Arm. Step 8: Remove the Tie Rod (Only If It Attached to the Body of the Strut, If Not Leave It Attached to the Steering Knuckle). Step 9: Remove the Strut to Knuckle Bolts at the Bottom of the Strut. on some Vehicles, the Brake Caliper and Rotor May Need to Be Removed to Gain Access. Step 10: Remove the Upper Mounting Plate Bolts Located in the Engine or Trunk Compartment. Do Not Remove the Center Retaining Nut! It Is Not Safe to Unload the Spring from the Assembly in This Position. Step 11: Carefully Remove the Old Strut Assembly from the Vehicle. Be Very Cautious Not to Let the Strut "Drop" down on Your Brake Line, Rotor or Drum. Step 12: Install the New Complete Strut Assembly in the Reverse Order As Above (Steps 11-6). Using an Anti-seize Compound on All Fasteners Is Suggested. Step 13: Carefully Double Check Your Work and Make Sure Everything Is Tightened to Manufacturers Torque Specifications. Step 14: Replace the Tire the Rotor and Tighten to Manufacturers Torque Specifications. Step 15: Slowly Lower the Vehicle down After Removing the Jack Stands. Pay Very Close Attention to Any Odd Sounds When the Vehicle Is Lowered Onto the New Complete Strut Assemblies. Step 16: It Is Very Important That You Immediately "Road Test" Your Vehicle Right Away to Ensure That Installation Was Done Properly. Listen and Feel for Common Signs of Incorrect Installation While Driving Slowly over Speed Bumps, Rough Road or Potholes. Easy to Install Fully-assembled unit includes everything you need for strut replacement. No need for coil spring compressor and special tools. Superb Stability Each coil spring is specially designed to restore the ride height and support the weight of the vehicle, reducing body shaking and improve the handling performance. High Performance Detroit Axle parts are OE manufactured to meet expectations for fit, form, and function, offering high quality and great value.